Drone Harmony Web enables you to import custom maps as layers into the Drone Harmony scene. Any georeferenced image in the GeoTiff file format can be used as an Overlay in Drone Harmony.
Map overlays are a very useful tool to use in order to enhance the accuracy of maps used for mission planning. They are especially useful in areas where the standard maps are either not accurate enough, or not up to date. For example, construction sites are very dynamic environments, where structures change and equipment moves all the time. Being able to use an up to date map overlay of the construction site can significantly improve the quality of mission planning and enhance safety.
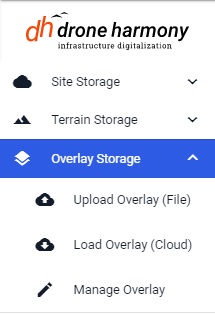
Importing and loading a new map overlay
To import a new overlay, navigate in Drone Harmony Web to the sub-menu “Overlay Storage”. In this sub-menu you will find all of the features related to uploading, loading and managing your map overlays.
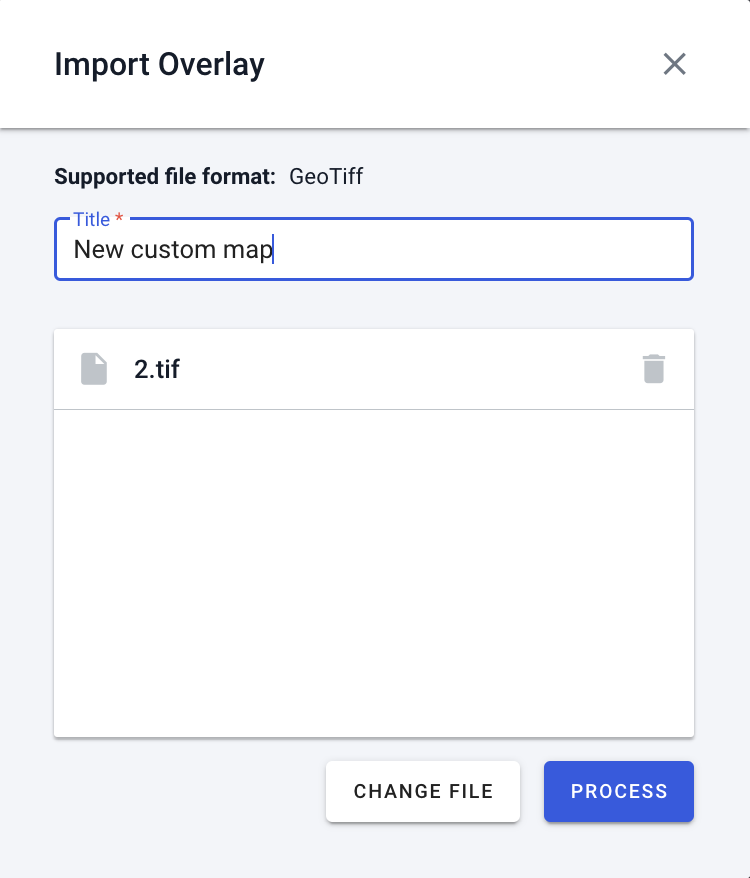
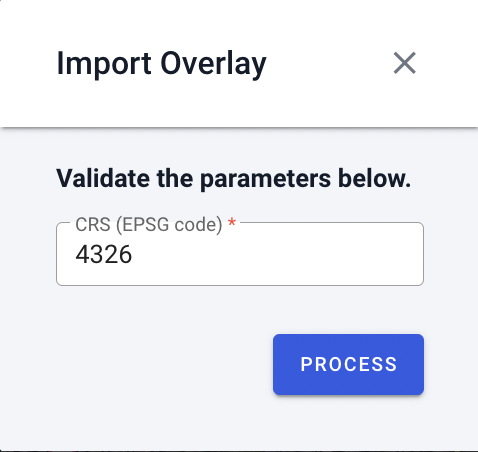
To load a new overlay, you first need to upload it to the Drone Harmony Cloud. To do so use the “Upload Overlay” option, pick a file in your file system in the GeoTiff file format and give the new overlay a name. After clicking on “Process” Drone Harmony will extract the coordinate system (EPSG Code) of the georeferenced image you uploaded (if this metadata exists in the file). You can also input this manually, or change it. It is recommended to not change the coordinate system, unless you are sure that the metadata in the file is wrong. Click on “Process” again to start processing of the file into a map overlay.
Once the processing starts, you will be presented with a progress and status bar:
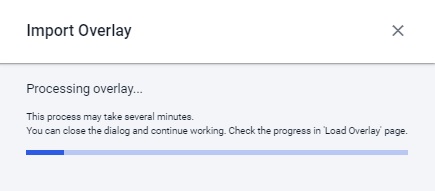
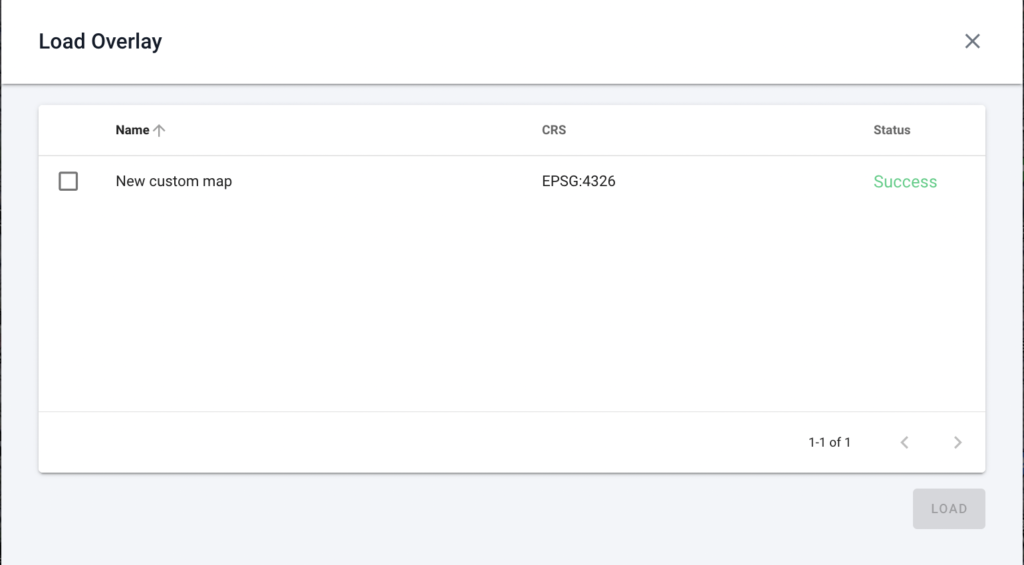
You do not need to wait for it to finish before closing this dialogue and continuing working. Drone Harmony will continue processing your new overlay in the background. Once the processing is complete you can load the processed overlay into you Drone Harmony scene using the “Load Overlay” option. In the “Load Overlay” menu you will find all of your processed map overlays, as well as the status of all overlays that are still processing:
Working with map overlays
Map overlays behave like most other layers in Drone Harmony Web (e.g. polygons, lines, terrains etc.). In particular, their visibility can be turned on and off in the filters menu and they can be deleted from the site (by clicking on them and selecting “delete”). Deleting an overlay does not delete it from the cloud storage (to do that you need to delete the overly in the sub-menu “Manage Overlays”).

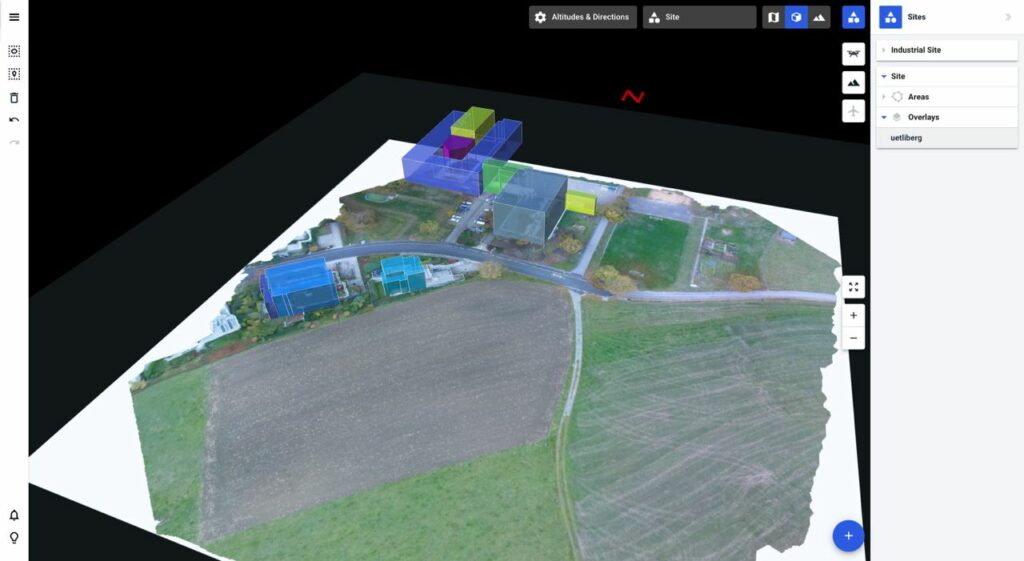
An overlay is shown in both the map and 3D views. In the map view you can control the transparency of the overlay by clicking on it and adjusting the slider “Change Transparency”. Reducing the transparency can, for example, help you understand how the custom map is related to the original map underneath.


